

Tags: RMI
Note: this article is for RMI Classroom users only. If you have Beanstack and RMI, please refer to our General Information section.
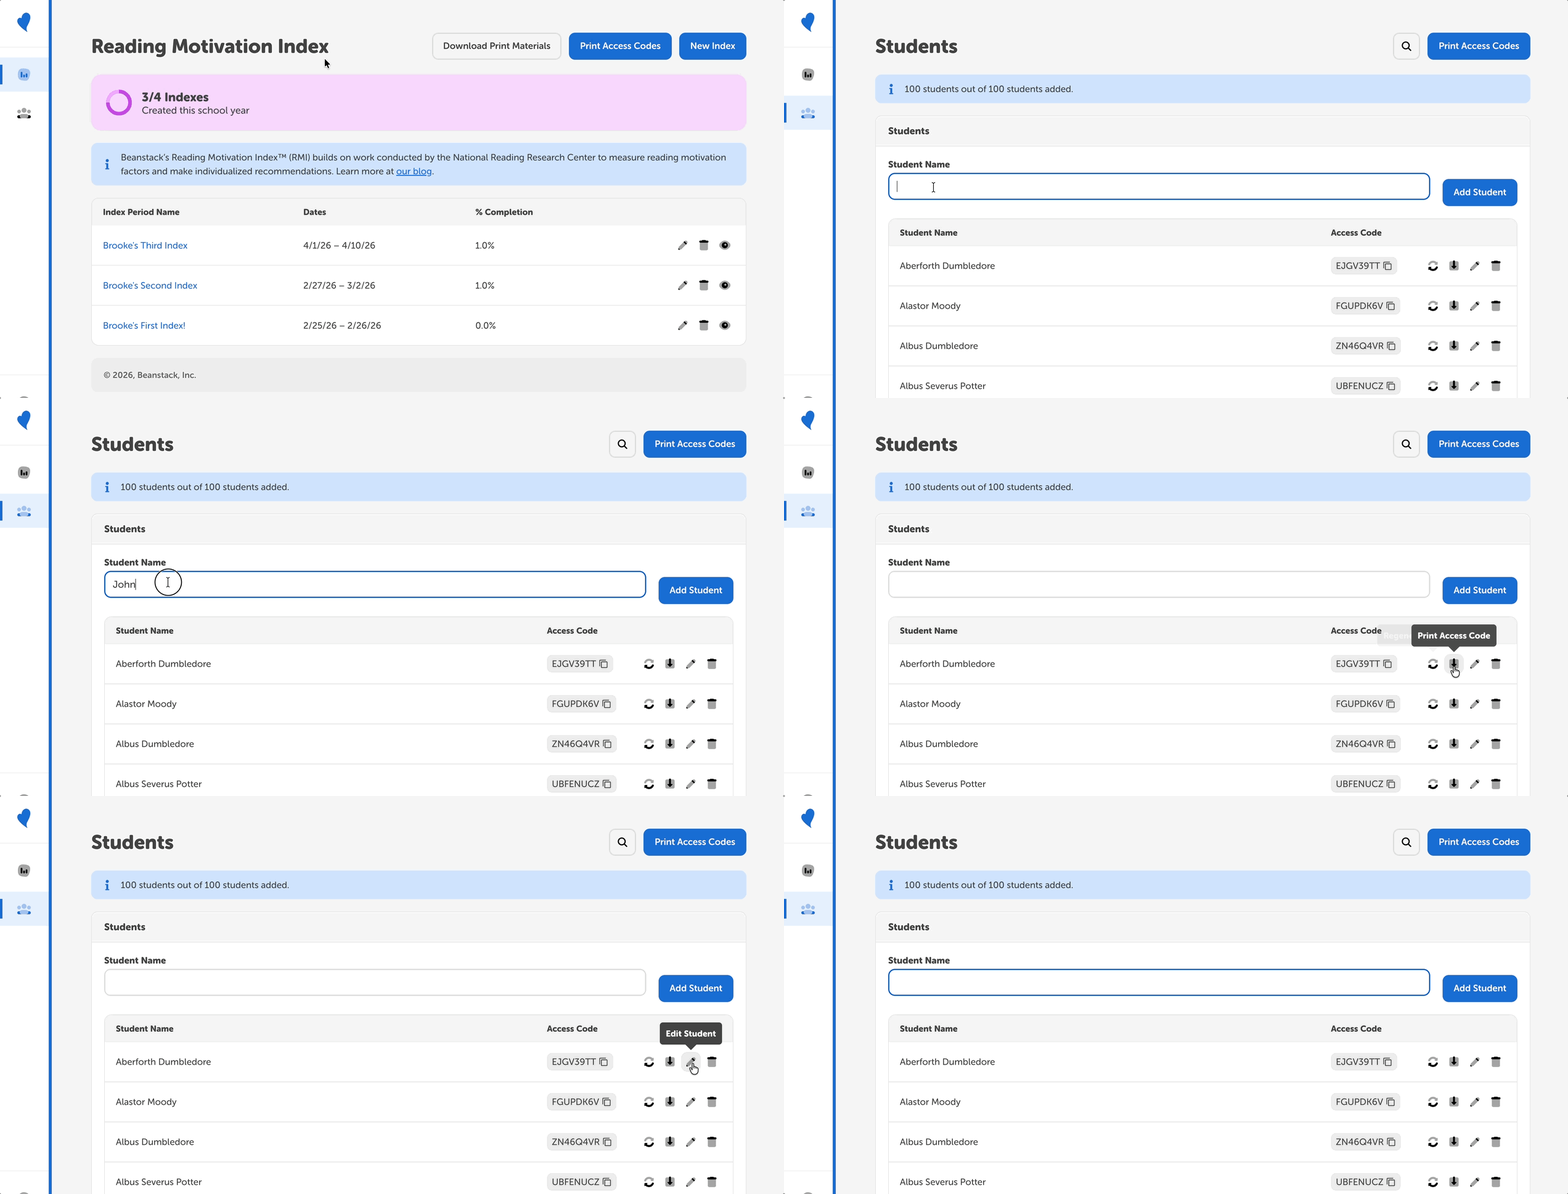 In RMI Classroom, admins can add, edit, or delete student users. After signing into your account at https://rmi.beanstack.com/, navigate to the Students section (located on the left of the page) to do the following:
Adding students to an RMI Classroom account
Adding students to an RMI Classroom account
- Sign into your account .
- Navigate to the .
- Enter the name of the student you’d like to add. A few things to note:
-
Students cannot have the same names
-
A maximum of 100 students can be added
-
- Click “Add Student.”
Editing or deleting a student
-
Locate the student in the table
-
To search, click the search icon in the top right corner
-
To view students A-Z, click the arrows at the bottom of the table
-
-
Click the pencil to edit the student's name or the trash icon to delete the student.
A few notes:
-
Editing a student will not change their access code, impact any current RMI responses, or change previous survey data.
-
Deleting a student will delete all RMI data, including previous survey data.